This article shows you how to add the products controlled by a control unit (KLC 410) with a potential-free switch in order to finalise the setup of your new VELUX Touch.
Prepare your product(s) to be added to your new VELUX Touch.
IMPORTANT: If the control unit is only used with a potential-free switch, wall switch KLI must first be added to enable the VELUX Touch integration.
Control unit KLC 410 paired with wall switch (KLI 31x)
- Follow the instructions: Copy from an existing wall switch (KLI 31x)
Control unit KLC 410 paired with control pad (KLR 200)
- Follow the instructions: Copy from an existing control pad (KLR 200)
Control unit KLC 410 only used with a potential-free switch
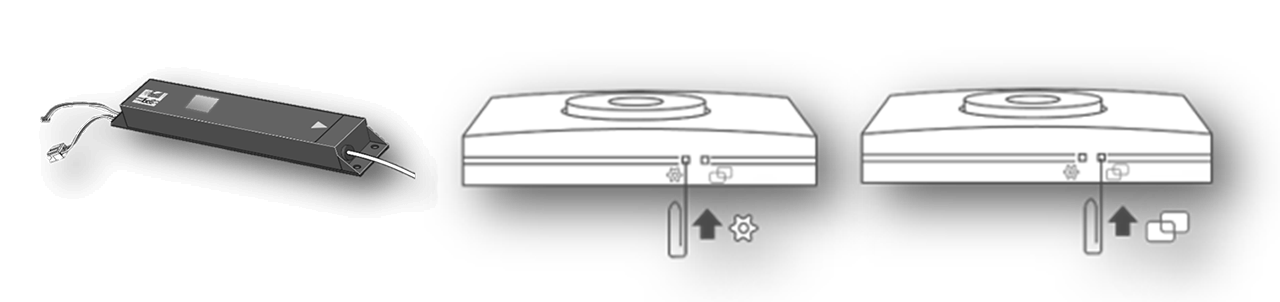
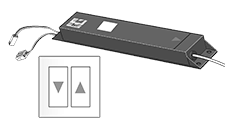
- Locate your control unit and the reset button (red dot marking on the cable side).
- Press and hold the reset button for 10 seconds to reset all previous pairings.
- Pair wall switch KLI with the control unit: On wall switch KLI, press the pairing button (icon with two circles) briefly using a pointed object.
- Bring the control unit into pairing mode: On wall switch KLI, press the settings button (gear icon) briefly using a pointed object.
- Add the potential-free switch: Press the open/up or down/close button on the potential-free switch.
Now return to your VELUX Touch to complete the product transfer and installation. Follow the instructions: Copy from an existing wall switch (KLI 31x)